Sunday, January 26, 2014

Little this, little that...

I have just been making more of the same stuff I was working on. For example, here is another bicycle basket

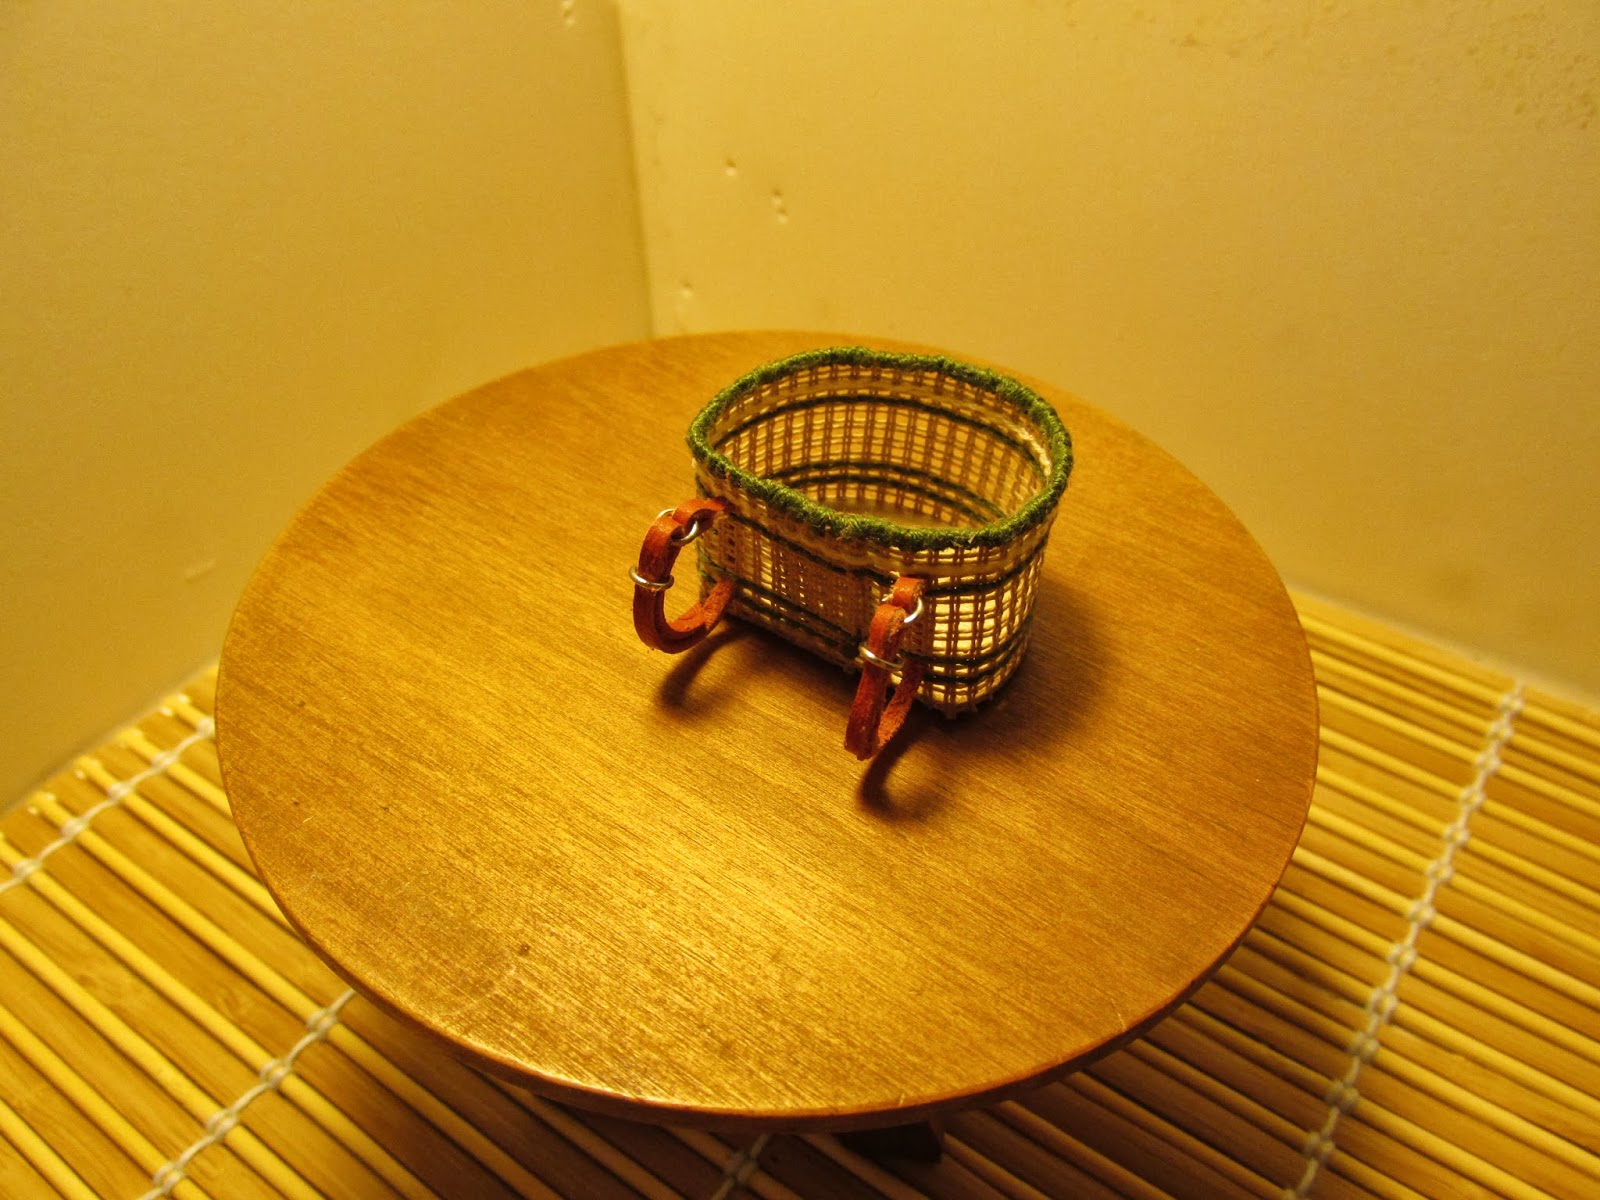
Still waiting for the bicycle though - perhaps next week. Then I made another chair, hoping to improve on the last one. I did fix the problems I made with the first one, but then created new problems by using the wrong thickness of wood. Once I realized my error, I decided to continue to the end, just to see how it would turn out. You never know - perhaps it's better with the errors. It was not better.
The chair on the left was my 1st chair, and you can see that the proportions are bigger and seem softer. The error I made was to use thinner wood for the back and sides and that resulted in a much more compact chair. My son says it's the difference between a B&N comfy chair (do they still have those?) and a dentist's waiting room chair. Chair number three will get done next week - have to get more balsa. I have bass and I have some hardwood, but I want to get it right before I use it...
Another thing I threw together is a foam-core corner ( a floor and two sides) so I don't always have to display my cluttered work table. I also made that broom, but my last one, which I cannot find right now, was better. The floor is just a bamboo placemat. The little green cat-head pillow is wool felt, sewn with embroidery floss in the blanket stitch and stuffed with more wool.
Pretty sloppy, but hey, my amateurish blog exists to demonstrate why one pays the big bucks for professional work. I should rename it "The Cautionary Tale"

Sunday, January 12, 2014

So I made a chair...

which is riddled with faults, but looks OK from a distance:

I made a bigger cat to read to the littler cat, and my daughter was horrified that it was 'naked', so she quickly wrapped the blue cloth around. How come when she does that it looks like a proper robe, and when I do it  it looks like a piece of scrap cloth?


Anyway, on to another project - a bicycle basket!

This is a basket I embroidered to look like  bike baskets I remember from when I was a kid, but it needs handles. To the left is a  leather upholstery sample, and I thought my paper cutter would be a good way to cut a fine miniature strap:
It didn't quite cut through all the way...
but just a little bit left to cut through, and a nice straight edge.


Just used jump rings for the hardware...
then attaching is fairly simple!

Now I need a bike!

Thursday, January 2, 2014

Hey, I'm on a roll! 2 posts in 3 days...

So yesterday, the lovely (at least in our neighborhood) first day of the year, I played at my table practically ALL DAY. You'd think I'd have more to show for it, but glue drying takes up a lot of time...
I was making shirts, but I ran out of hangers, so while glue was drying, I went online and searched for anything on miniature hanger jigs, finding just the thing! "Amber's House" is the blog of a very talented miniaturist, and on  this page, you will find instructions to make a jig too!


Then of course, I needed something to hang the hangers on...
No, something better than that!

 Lego jig in action! These are bamboo skewers, by the way...
 taking forever! but hey, if you give a moose a muffin...
and at last, a clothing rack!